by
by Of course! Here is a detailed, step-by-step tutorial on how to crochet a stylish and versatile bucket hat. This long-form guide is perfect for advanced beginners who are comfortable with basic stitches and are ready for a fun, wearable project.
The Ultimate Guide to Crocheting Your Own Bucket Hat: A Detailed Step-by-Step Tutorial
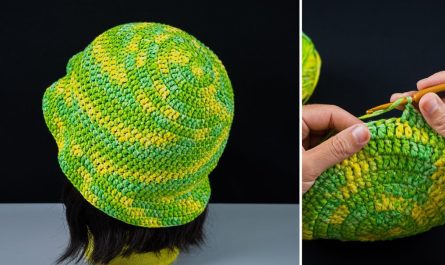
Welcome to the ultimate guide to crocheting your own bucket hat! The bucket hat is a timeless accessory that has surged back into popularity, offering both style and sun protection. Creating your own allows for complete customization in color, fit, and material, resulting in a unique piece that you can be proud of.
This tutorial is designed for an advanced beginner. You should be familiar with basic crochet stitches and working in the round. We will walk you through every step, from gathering your materials to weaving in the final end.
Before You Begin: The Essentials
A successful project starts with the right preparation. Let’s go over everything you’ll need.
Skill Level:
- Advanced Beginner
Materials & Tools:
- Yarn: Approximately 200-250 yards of Worsted Weight (Category 4) yarn. Cotton or a cotton blend is highly recommended. Cotton yarn provides excellent structure, holds its shape well, and is breathable, making it perfect for a hat.
- Crochet Hook: A 5.0mm (H-8) crochet hook, or the size needed to obtain the correct gauge.
- Stitch Marker: Essential for keeping track of the beginning of your rounds, as we will be working in a continuous spiral.
- Tapestry Needle: For weaving in your ends neatly.
- Scissors: For cutting your yarn.
- Measuring Tape: Crucial for ensuring the hat will fit perfectly.
Gauge:
Gauge is critical for sizing! It refers to the density of your stitches. If your gauge doesn’t match the pattern’s, your hat will be too large or too small.
- To check your gauge: Create a flat circle by following the first 4 rounds of the pattern below. Your circle should measure approximately 4 inches (10 cm) in diameter.
- If your circle is too small: Go up a hook size (e.g., to a 5.5mm hook).
- If your circle is too big: Go down a hook size (e.g., to a 4.5mm hook).
Abbreviations & Stitches (US Crochet Terms):
- st(s): stitch(es)
- ch: chain
- sl st: slip stitch
- sc: single crochet
- hdc: half double crochet
- inc: increase (work 2 stitches into the same stitch)
- MR: magic ring (or magic circle)
- […]: repeat the instructions within the brackets as directed
- (…): indicates the total stitch count at the end of a round
The Pattern: Crafting Your Bucket Hat
Our bucket hat is constructed in three main parts:
- The Crown: The flat circle that sits on top of your head.
- The Body: The straight sides of the hat.
- The Brim: The flared edge that provides shade.
We will be working in a continuous spiral. This means you will not join and chain up at the end of each round. Simply continue crocheting into the next stitch. Place your stitch marker in the first stitch of each round and move it up as you go.
Part 1: The Crown
The crown is formed by creating a flat circle using strategically placed increases.
Round 1: Start with a MR. Work 8 hdc into the ring. (8 sts) (Do not join. Place your stitch marker in the first hdc to mark the beginning of the round.)
Round 2: Work an inc in each st around. (16 sts) (In other words, place 2 hdc in every stitch from the previous round.)
Round 3: [1 hdc in the next st, inc in the next st] repeat 8 times around. (24 sts)
Round 4: [1 hdc in the next 2 sts, inc in the next st] repeat 8 times around. (32 sts)
Round 5: [1 hdc in the next 3 sts, inc in the next st] repeat 8 times around. (40 sts)
Round 6: [1 hdc in the next 4 sts, inc in the next st] repeat 8 times around. (48 sts)
Round 7: [1 hdc in the next 5 sts, inc in the next st] repeat 8 times around. (56 sts)
Round 8: [1 hdc in the next 6 sts, inc in the next st] repeat 8 times around. (64 sts)
Sizing Checkpoint:
At this point, your flat circle is the crown of the hat. It’s time to measure it. For an average adult head (21-23 inches in circumference), the crown should measure approximately 6.5 – 7 inches in diameter.
- To calculate your ideal crown diameter: Measure the circumference of the head and divide by Pi (π≈3.14). Crown Diameter=πHead Circumference
- If your crown is still too small: Continue the pattern of increases. For Round 9, you would work [1 hdc in the next 7 sts, inc], and so on, until the diameter is correct.
- If your crown is the right size: Proceed to Part 2.
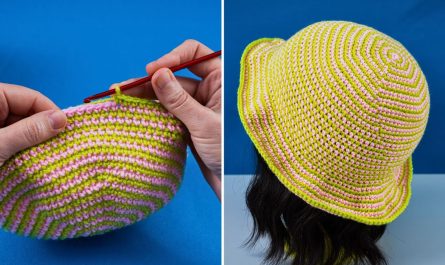
Part 2: The Body
Now, we will stop increasing. This will cause the sides of the hat to start forming downwards, creating the body. This is the easiest part of the pattern!
Round 9 – 22 (or until desired height): Work 1 hdc in each st around. (64 sts)
Important Note on Height: The number of rounds here determines the depth of your hat. A standard bucket hat body is about 3.5 – 4 inches tall.
- Try the hat on as you go. The edge of the hat should sit just above your eyebrows or where you’d like the brim to begin.
- If you want a deeper hat, simply add more rounds. If you want a shallower one, do fewer rounds.
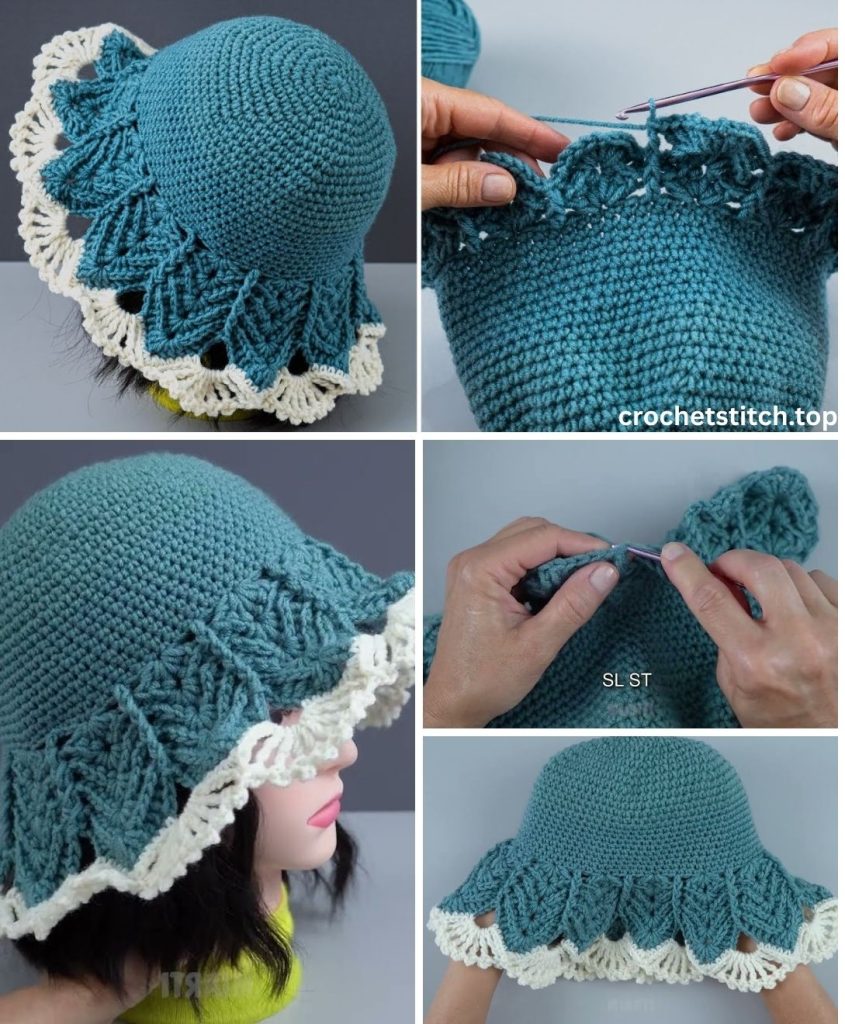
After your last round of the body, you can sl st into the next stitch to create a more even edge before starting the brim, but it’s not strictly necessary if you’re using a stitch marker.
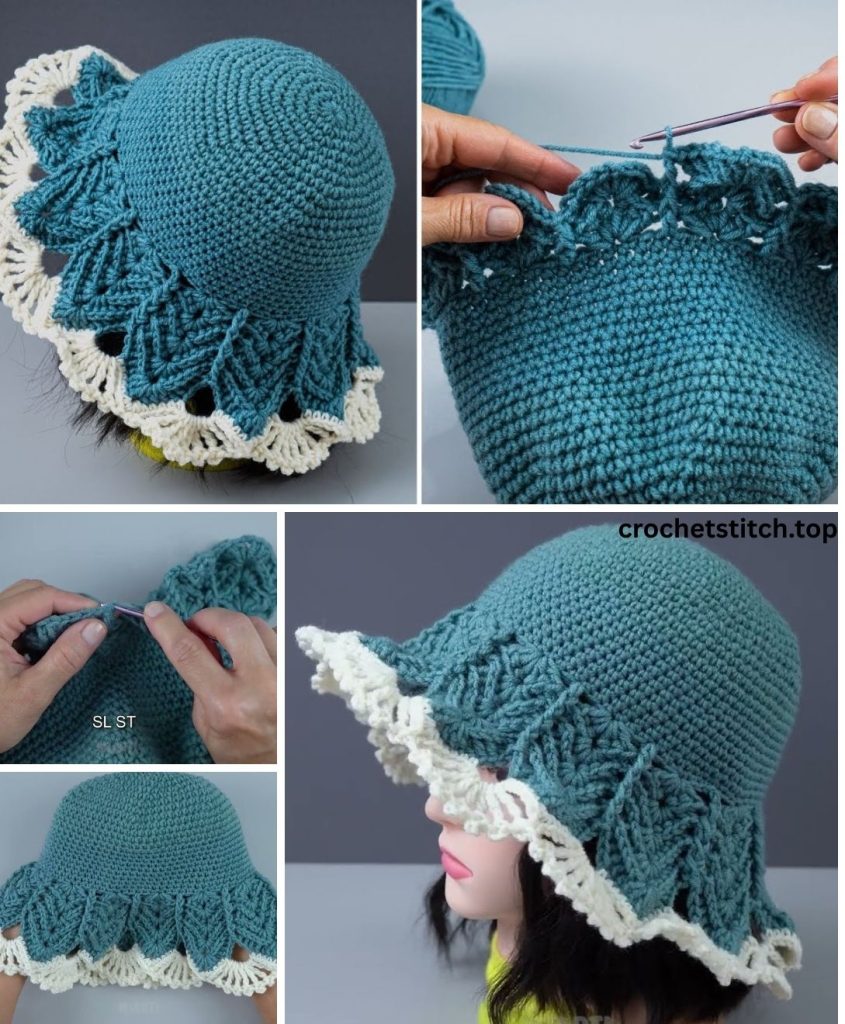
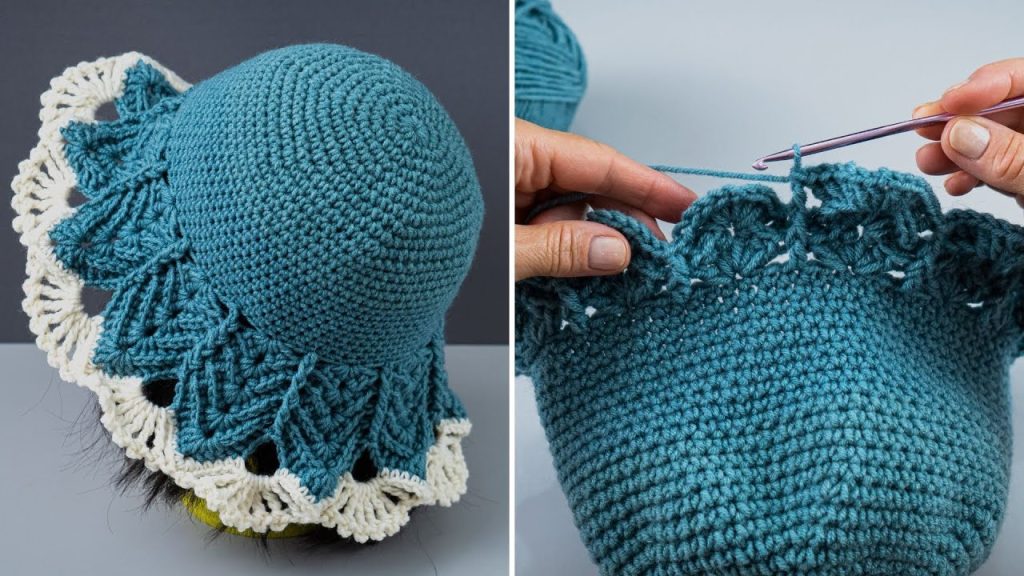
Part 3: The Brim
To create the classic bucket hat brim, we will begin increasing again. This will make the fabric flare outwards. We will be working this section in single crochet (sc) to create a denser, slightly stiffer brim.
Important: For this first round of the brim, we will work in the Front Loop Only (FLO). This creates a defined, sharp angle between the body and the brim, giving your hat a professional look.
Round 23 (FLO): Working in the Front Loops Only, [1 sc in the next 7 sts, inc in the next st] repeat 8 times around. (72 sts)
Round 24: Now working through both loops as normal, [1 sc in the next 8 sts, inc in the next st] repeat 8 times around. (80 sts)
Round 25: Work 1 sc in each st around. (80 sts)
Round 26: [1 sc in the next 9 sts, inc in the next st] repeat 8 times around. (88 sts)
Round 27: Work 1 sc in each st around. (88 sts)
Round 28: [1 sc in the next 10 sts, inc in the next st] repeat 8 times around. (96 sts)
Round 29: Work 1 sc in each st around. (96 sts)
Round 30: [1 sc in the next 11 sts, inc in the next st] repeat 8 times around. (104 sts)
Customizing Your Brim:
- For a wider brim: Continue this pattern of one increase round followed by one plain round until the brim is your desired width.
- For a wavier, “floppier” brim: Increase in every round instead of every other round.
- For a flatter, stiffer brim: Do two or three plain rounds between each increase round.
Once your brim is the width you like, finish with one final round of slip stitches for a clean, sturdy edge.
Final Round: Sl st in each st around. (104 sts)
Finishing Touches
You’re almost done! These final steps will give your hat a polished, professional finish.
- Fasten Off: Cut your yarn, leaving a 6-inch tail. Yarn over and pull the tail completely through the loop on your hook to create a knot.
- Weave in Ends: Thread the yarn tail onto your tapestry needle. Weave the end through the stitches on the inside of your hat, going back and forth a few times to secure it. Trim any excess yarn. Do the same for the starting tail from your magic ring.
- Blocking (Optional but Recommended): Blocking helps to shape your hat and even out your stitches. For a cotton hat, a light steam block works wonders.
- Find a bowl or mannequin head that is roughly the shape you want for your hat’s crown.
- Place the hat over the form.
- Use a steamer or the steam function on an iron (do NOT let the iron touch the yarn) to gently steam the hat all over.
- Pat it into shape with your hands and let it air dry completely. This will set the stitches and give the brim a nice, crisp shape.
Congratulations!
You have now crocheted your very own stylish, custom-fit bucket hat! This pattern is a fantastic base for getting creative.
Creative Ideas:
- Stripes: Change yarn colors every few rounds on the body to create a striped pattern.
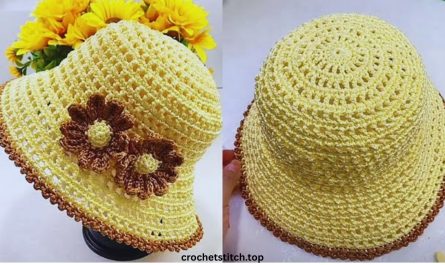
- Contrasting Brim: Use a different color for the brim.
- Embellishments: Add crocheted flowers, patches, or embroidery to personalize it even further.
- Different Yarns: Try a raffia yarn for a straw-like summer hat or a soft wool blend for a cozy winter version (remember to adjust your hook and gauge!).
Happy crocheting!