 by
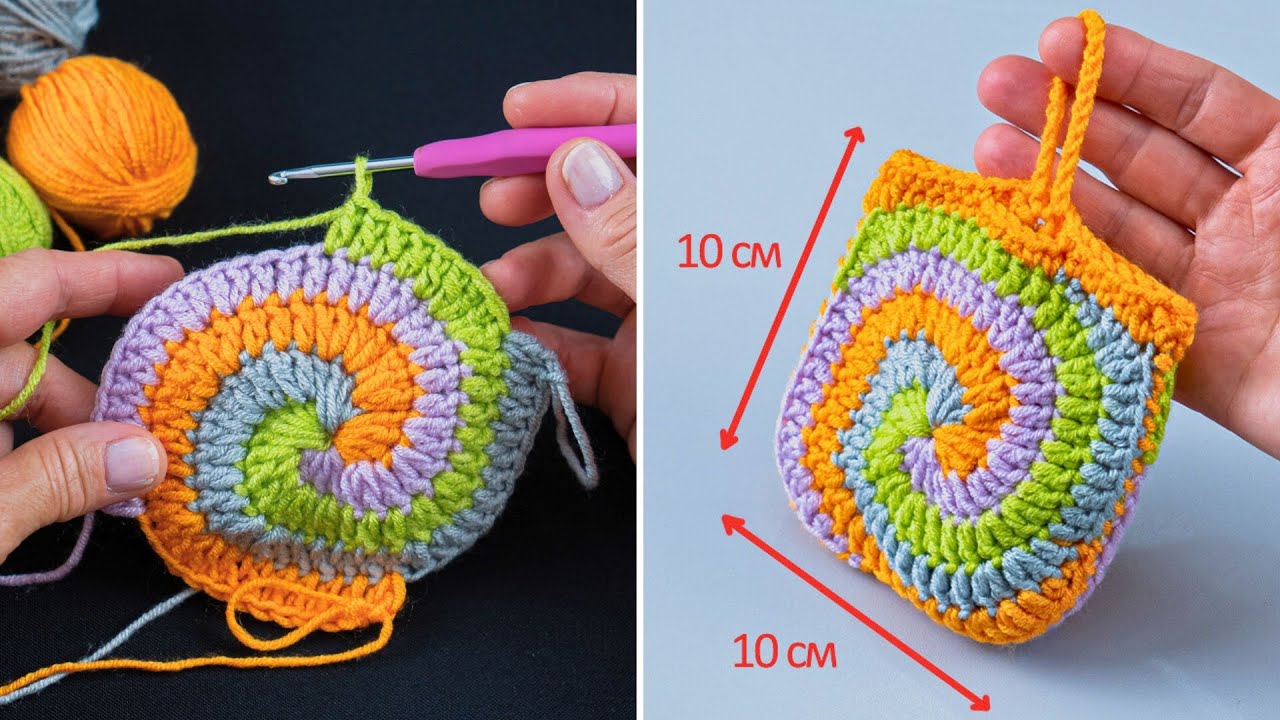
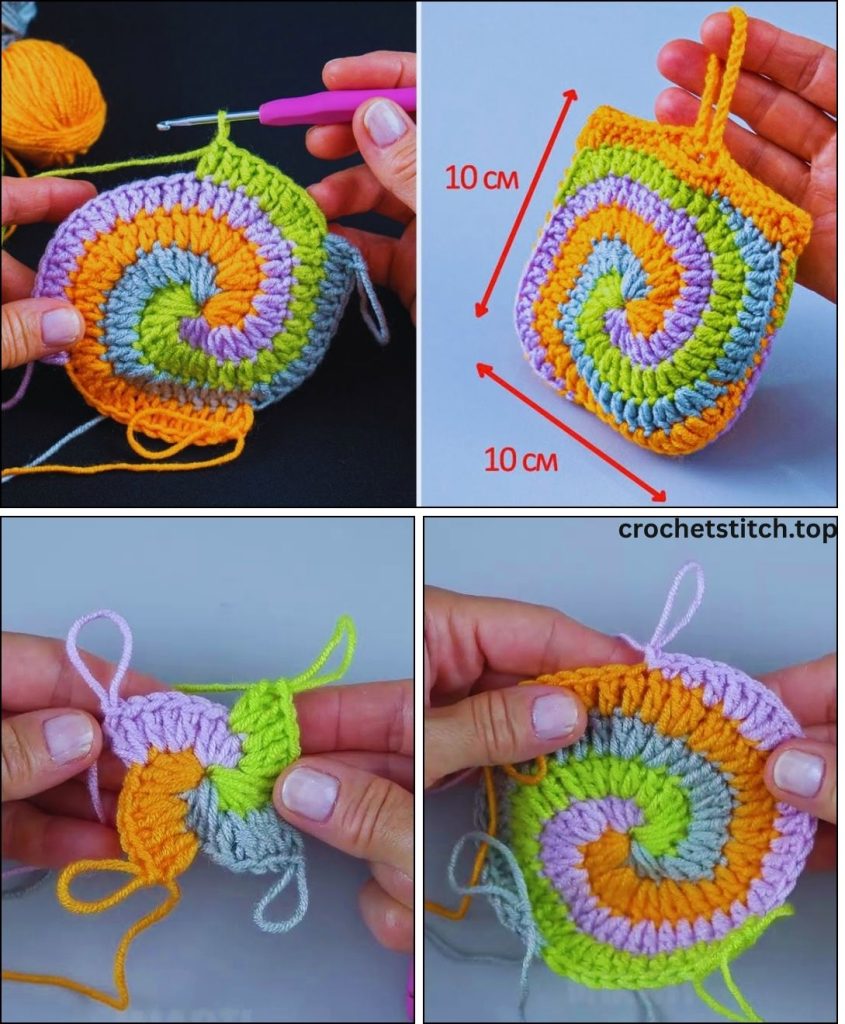
by This tutorial will guide you through creating an adorable and functional pouch using the classic granny square motif. This project is excellent for beginners who want to try joining squares and creating a 3D item. The finished pouch is perfect for holding coins, earbuds, lipstick, or other small treasures.
Materials You’ll Need
- Yarn: Small amounts of worsted weight (aran/10-ply) yarn in 2 to 3 colors. Cotton or acrylic works well.
- Color A: For the center of the squares.
- Color B: For the outer rounds and joining.
- Crochet Hook: A hook size appropriate for your yarn, typically a 4.0mm (G/6) or 5.0mm (H/8) hook.
- Scissors
- Yarn Needle (Tapestry Needle): Essential for weaving in ends and seaming the squares.
- Closure (Optional): A zipper (about 4 inches) or a magnetic snap.
Key Crochet Stitches and Techniques
- Magic Ring (MR): To start the square neatly.
- Chain (ch): The basic stitch.
- Slip Stitch (sl st): To join rounds and blocks.
- Double Crochet (dc): The main stitch for the granny clusters.
- Joining Squares: Seaming the squares together to form the pouch structure.
Part 1: Crocheting the Granny Squares
You will need to make two identical, four-round squares for the front and back of your pouch.
Granny Square Pattern (Make 2)
- Round 1 (Color A): Start with a Magic Ring.
- Ch 3 (counts as 1 dc). Work 2 dc into the ring.
(Ch 2, 3 dc into the ring)Repeat from()two more times. Ch 2, sl st to the top of the initial Ch 3 to join. (Four 3-dc clusters). Fasten off Color A.
- Ch 3 (counts as 1 dc). Work 2 dc into the ring.
- Round 2 (Color B): Join Color B with a sl st to any corner ch-2 space.
- Ch 3,
(2 dc, ch 2, 3 dc)into the same corner space. This is your first corner. Ch 1, (3 dc, ch 2, 3 dc)into each remaining corner space.- Ch 1, sl st to the top of the initial Ch 3 to join.
- Ch 3,
- Round 3 (Color B): Sl st into the next 2 dc and into the corner ch-2 space.
- In the same corner,
(ch 3, 2 dc, ch 2, 3 dc). - Side: Ch 1. Work 3 dc into the next ch-1 space along the side. Ch 1.
- Next Corner: In the next corner ch-2 space,
(3 dc, ch 2, 3 dc). - Continue this pattern around, adding 3-dc clusters into each side space. Sl st to the top of the initial Ch 3 to join.
- In the same corner,
- Round 4 (Color B): Sl st into the next 2 dc and into the corner ch-2 space.
- In the same corner,
(ch 3, 2 dc, ch 2, 3 dc). - Side: Ch 1. Work 3 dc into each ch-1 space across the side. Ch 1.
- Next Corner: In the next corner ch-2 space,
(3 dc, ch 2, 3 dc). - Continue this pattern around. Sl st to the top of the initial Ch 3 to join. Fasten off one square. Leave a long tail (about 30 inches) on the second square for joining the pouch.
- In the same corner,
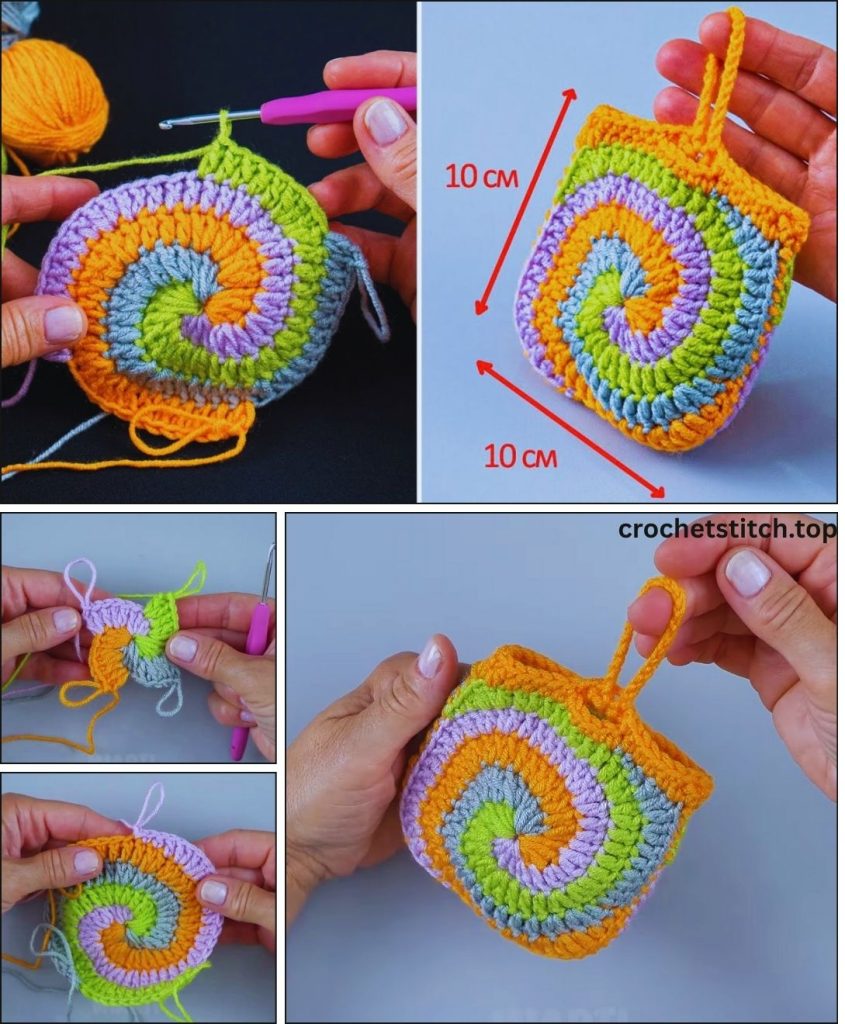
Part 2: Assembling the Pouch
We will be joining the two squares along three edges, leaving the top edge open.
- Preparation: Place the two squares together with the Wrong Sides (WS) facing each other and the Right Sides (RS) facing out. Line up the stitches and corners perfectly.
- Joining: Use the long tail from the second square and your Yarn Needle (or you can use a Slip Stitch Join with your hook).
- Starting at one corner, insert your needle through the stitches of both squares. You want a strong seam, so you can go through both loops of both squares.
- Use a whipstitch or running stitch to sew together the two side edges and the bottom edge.
- Stop and secure your yarn when you reach the third corner, leaving the top edge open. Weave in the remainder of the tail securely on the inside.
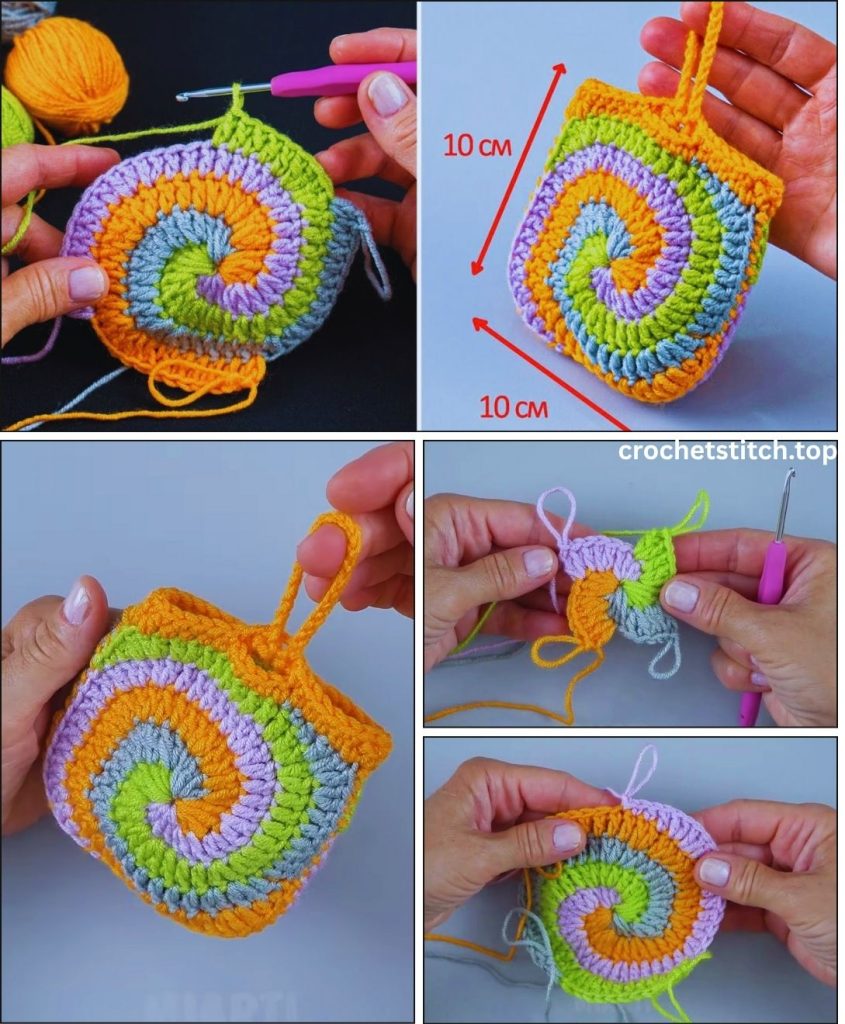
Part 3: Finishing the Top Edge
Adding a simple single crochet border to the top edge will stabilize the opening and prepare it for a closure.
- Join Yarn (Color B): Join Color B with a sl st to one corner of the open top.
- Round 1 (Sc): Ch 1. Work 1 single crochet (sc) in each stitch and ch-1 space around the entire top opening of the pouch. For a cleaner look, try to work 3 sc over each 3-dc cluster and 1 sc in each chain space. Sl st to the first sc to join.
- Round 2 (Structure): Ch 1. Work 1 sc in each stitch around. Sl st to join.
- Final Edge (Optional): Work one final round of slip stitches or reverse single crochet (crab stitch) around the top opening for a very neat, non-stretching finish. Fasten off.
Part 4: Adding the Closure
A secure closure keeps your small items safe inside the pouch.
Option A: Zipper (Recommended)
- Zipper Insertion: Take a small zipper (about 4 inches long) and lay it flat across the top opening.
- Hand Sewing: Using a standard sewing needle and thread (matching your yarn or zipper), carefully hand-sew the zipper to the inside edge of the crocheted top opening. Stitch close to the zipper teeth for the neatest finish.
Option B: Magnetic Snap
- Placement: Determine the center of the pouch’s opening.
- Installation: Insert the prongs of one snap piece through the stitches on the inside of the front panel. Fold the prongs down securely. Repeat with the other snap piece on the inside of the back panel, ensuring they align perfectly when the pouch is closed.
Option C: Button and Loop
- Loop: Ch 10 (or enough chains to create a loop slightly larger than your button). Sl st back into the top edge of the pouch to form the loop. Fasten off.
- Button: Sew a decorative button onto the corresponding spot on the opposite side of the pouch.
Part 5: Final Touches
- Weave in All Ends: Use your yarn needle to carefully weave in any remaining loose ends on the inside of the pouch.
- Blocking (Optional): Blocking will help your pouch maintain a perfect square shape and flatten the seams. Gently mist the pouch with water, shape it, and allow it to air dry.
Congratulations! You have successfully crocheted a beautiful, sturdy granny square pouch.