 by
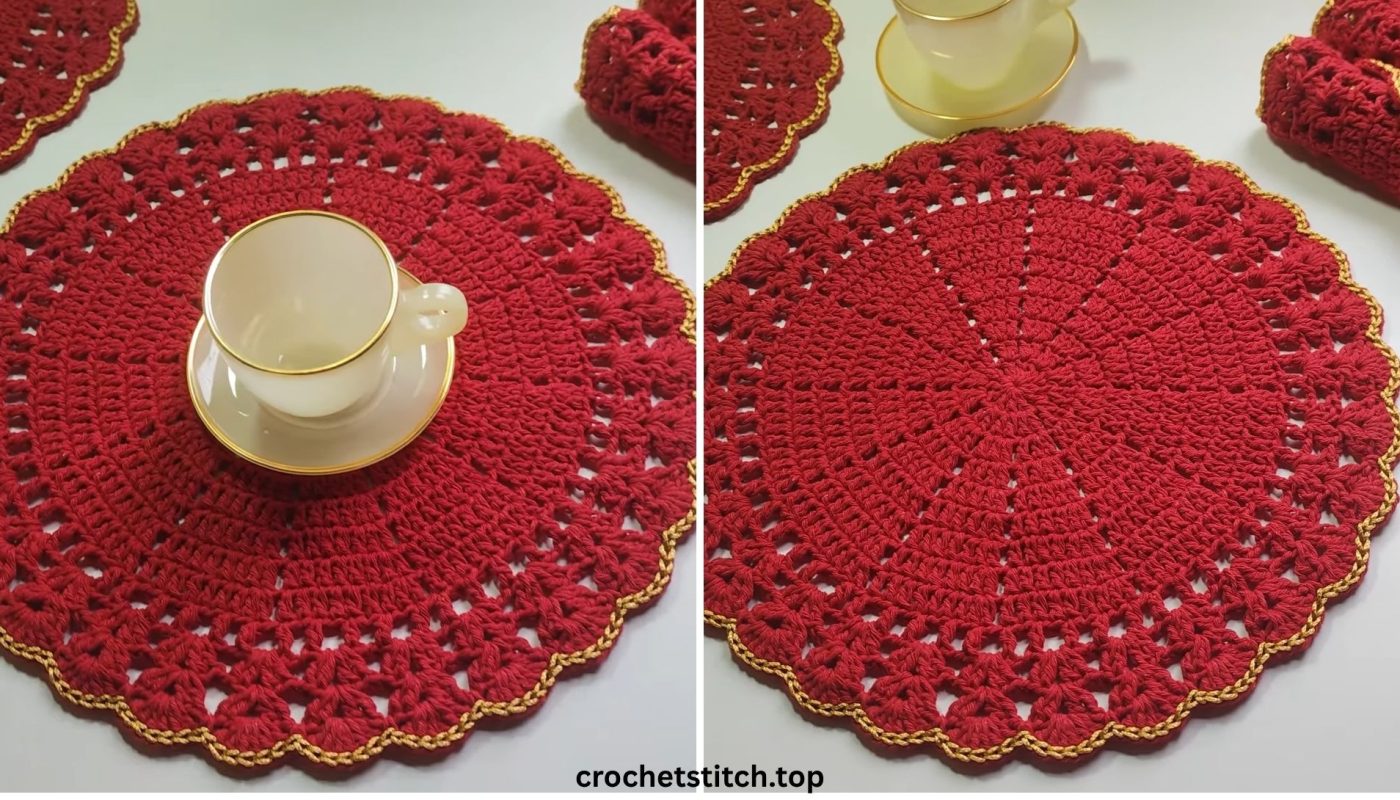
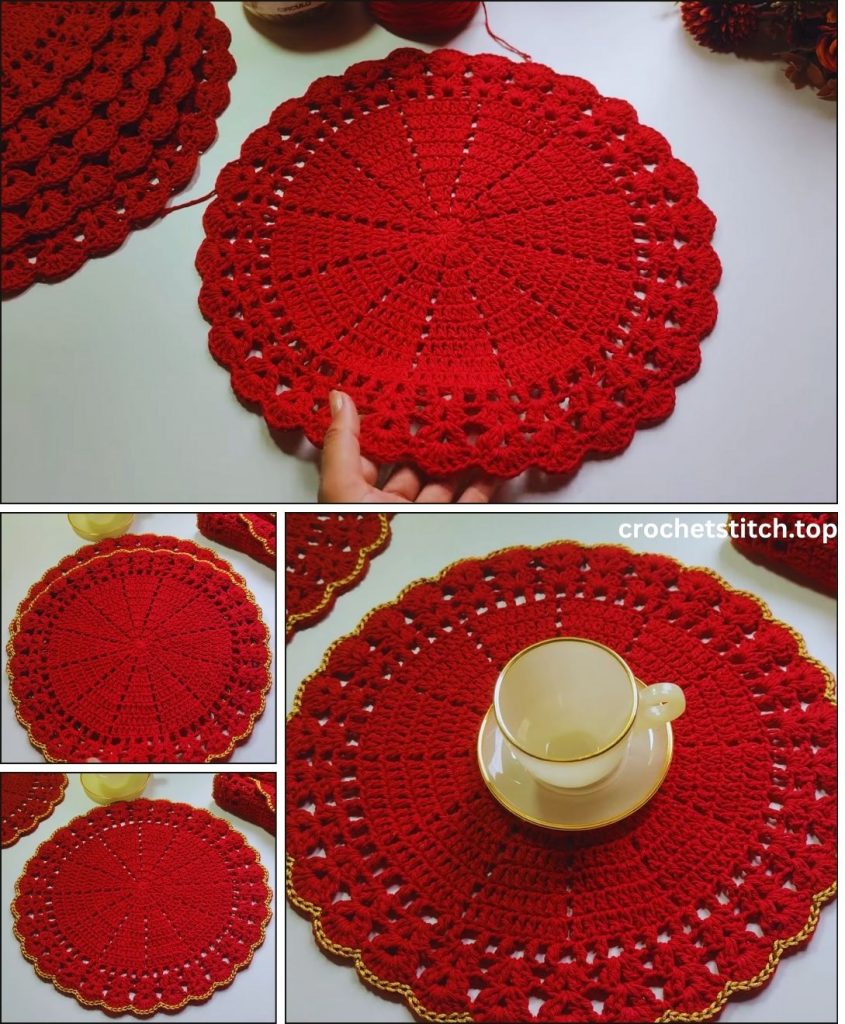
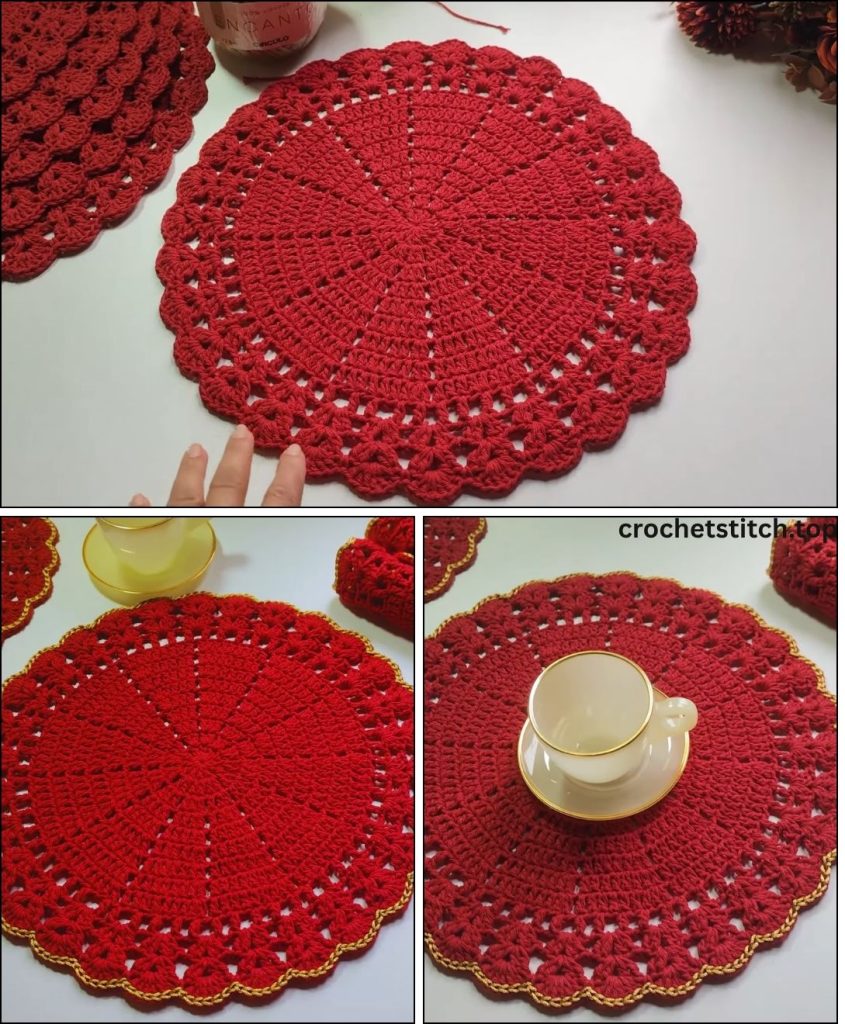
by Crocheting a simple, round coaster is the perfect beginner project. It works up quickly, requires minimal yarn, and is extremely useful! This tutorial focuses on creating a solid, sturdy coaster in a vibrant red color, using simple stitches to ensure it protects your surfaces from heat and moisture.
Materials You’ll Need
- Yarn: Approximately 30-50 grams of worsted weight (aran/10-ply) yarn in Red. Cotton yarn is highly recommended for coasters because it’s absorbent, durable, and can handle hot temperatures without melting.
- Crochet Hook: A hook size appropriate for your yarn. A 4.5mm or 5.0mm (H/8) hook is a good choice for creating a tight, dense fabric.
- Scissors
- Yarn Needle (Tapestry Needle): For weaving in ends.
Key Crochet Stitches and Techniques
- Magic Ring (MR): The best foundation for starting a circular project neatly without a hole in the center.
- Chain (ch): The most basic crochet stitch.
- Slip Stitch (sl st): Used to join rounds.
- Single Crochet (sc): The primary stitch for this coaster. It creates a very tight, solid fabric that resists stretching.
- Working in the Round: The entire coaster is worked in a continuous circle, joined at the end of each round.
Part 1: Crocheting the Base of the Coaster
The base is a flat, sturdy circle. We will use a basic circle increase formula to ensure it stays flat and doesn’t cup or ruffle.
- Round 1 (Foundation): Start with a Magic Ring.
- Ch 1 (does not count as a stitch). Work 8 sc into the Magic Ring.
- Pull the yarn tail to tighten the ring completely.
- Sl st to the first sc to join the round. (8 stitches total).
- Round 2 (Increase):
- Ch 1. Work 2 sc into each stitch around.
- Sl st to the first sc to join. (16 stitches total).
- Round 3 (Increase):
- Ch 1. Work 1 sc in the next stitch. Work 2 sc in the next stitch.
- *1 sc in the next stitch, 2 sc in the next stitch.* Repeat from * to * around.
- Sl st to the first sc to join. (24 stitches total).
- Round 4 (Increase):
- Ch 1. Work 1 sc in the next 2 stitches. Work 2 sc in the next stitch.
- *1 sc in the next 2 stitches, 2 sc in the next stitch.* Repeat from * to * around.
- Sl st to the first sc to join. (32 stitches total).
- Round 5 (Increase):
- Ch 1. Work 1 sc in the next 3 stitches. Work 2 sc in the next stitch.
- *1 sc in the next 3 stitches, 2 sc in the next stitch.* Repeat from * to * around.
- Sl st to the first sc to join. (40 stitches total).
Sizing Note: For a standard coaster, 5 rounds should be sufficient (about 4–4.5 inches in diameter). If you want a larger coaster, continue the increase pattern (Round 6 would be 4 sc, then 2 sc in the next stitch, repeated).
Part 2: Adding a Clean Finish
Once your coaster has reached the desired size, the final steps ensure a professional and crisp look.
- Optional Border (Slip Stitch Edge): For a slightly raised, non-stretching edge, add one final round of slip stitches.
- Ch 1. Work 1 sl st into each stitch around the entire coaster.
- Sl st to the first sl st to join and finish.
- Fasten Off: Cut your red yarn, leaving a 6-inch tail. Pull the tail through the last loop on your hook to create a knot and secure the stitch.
Part 3: Finishing and Blocking
- Weave in All Ends: This is a crucial step. Thread the tail into your yarn needle. Weave the tail through the stitches on the back of the coaster. Weave in one direction for a few stitches, then reverse direction for a few more to securely lock the end in place. Trim the excess yarn close to the fabric.
- Blocking (Recommended): To ensure your coaster lies perfectly flat and doesn’t curl up at the edges, blocking is recommended.
- Gently mist the coaster with water until it is damp.
- Place it on a flat surface (a towel or blocking mat).
- Gently shape it into a perfect circle, pressing the edges flat.
- Allow it to air dry completely.
Congratulations! You have successfully crocheted a simple, sturdy, and beautiful red coaster.\