 by
by Crocheting a sousplat (placemat) that uses just a small amount of yarn is a fantastic, economical project. By using a denser stitch and a slightly larger hook, you can quickly create a sturdy, elegant piece of table decor with only 100 grams of yarn. This tutorial guides you through an easy, step-by-step pattern designed to maximize your yarn while achieving a beautiful finish.
Materials You’ll Need
- Yarn: Approximately 100 grams of worsted weight (aran/10-ply) or DK (8-ply) cotton yarn. Cotton is highly recommended for its durability, washability, and heat resistance, all essential qualities for a placemat.
- Crochet Hook: A hook size slightly larger than your yarn recommends, such as a 4.5mm or 5.0mm (H/8) hook, to help the piece work up faster and achieve a desirable size.
- Scissors
- Yarn Needle (Tapestry Needle): For weaving in ends.
Key Crochet Stitches and Techniques
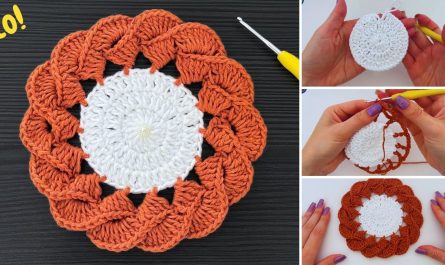
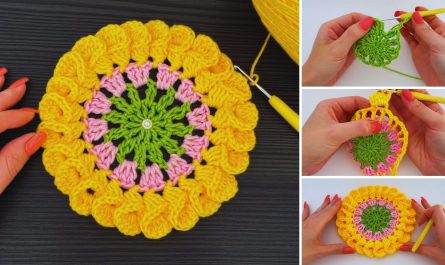
- Magic Ring (MR): Creates the neatest, tightest center.
- Chain (ch): The basic stitch.
- Slip Stitch (sl st): Used to join rounds.
- Half Double Crochet (hdc): This is the main stitch for the body. It’s taller than single crochet (sc), which saves time, but denser than double crochet (dc), which provides structure.
- Working in the Round: The entire placemat is worked in a circular pattern, joined at the end of each round.
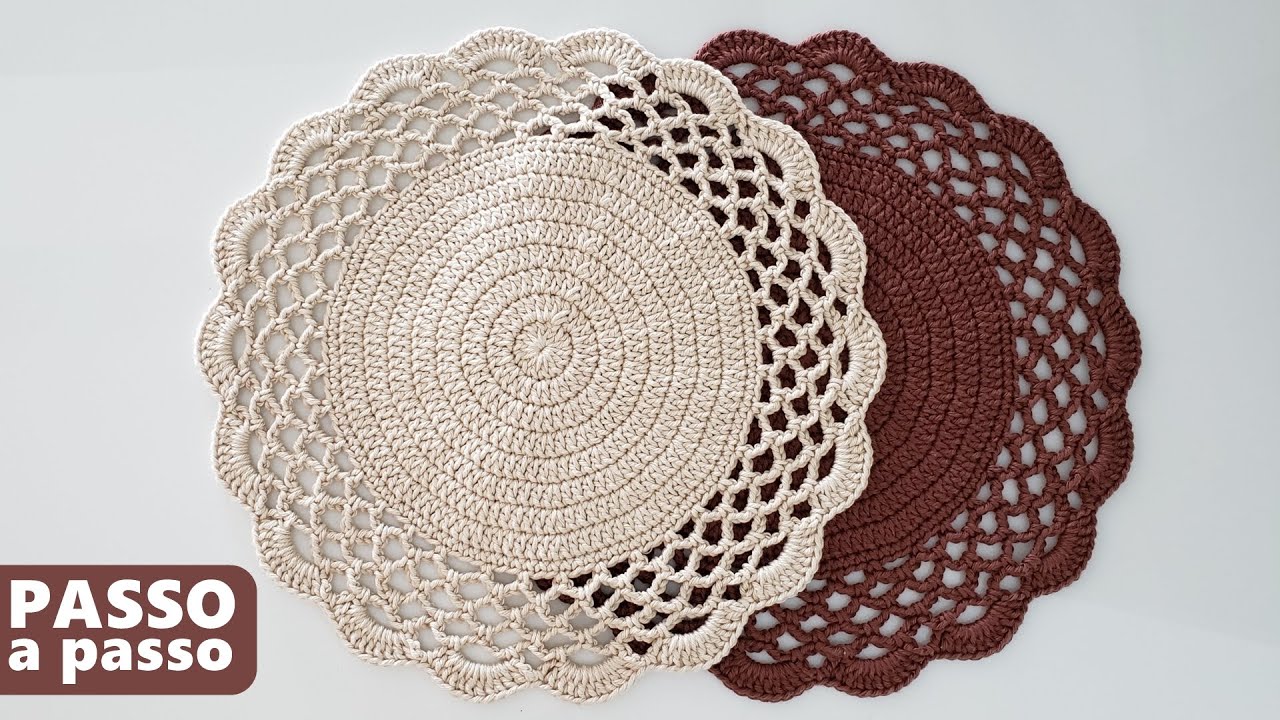
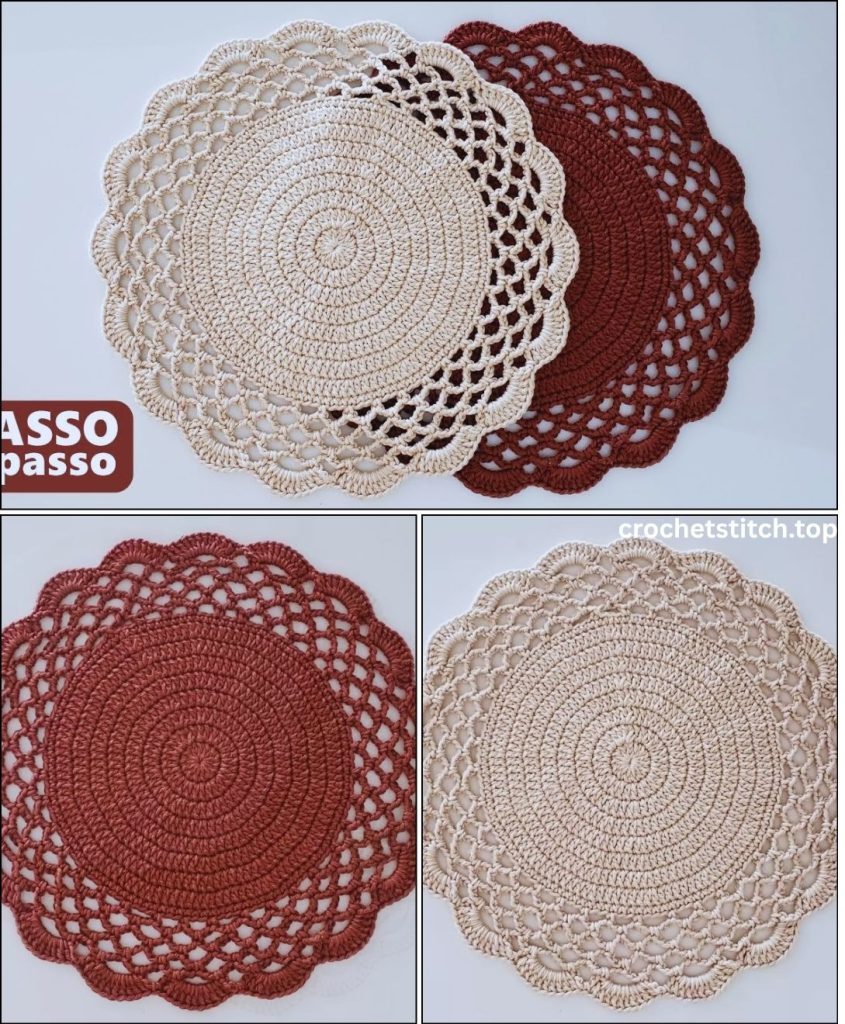
Part 1: Crocheting the Solid Base
The base is a simple flat circle. We will use the half double crochet (hdc) stitch with the standard increase formula to ensure the placemat lies perfectly flat.
- Round 1 (Foundation): Start with a Magic Ring.
- Ch 2 (does not count as a stitch). Work 10 hdc into the Magic Ring.
- Pull the yarn tail to tighten the ring completely.
- Sl st to the first hdc to join the round. (10 stitches total).
- Round 2 (Increase):
- Ch 2. Work 2 hdc into each stitch around.
- Sl st to the first hdc to join. (20 stitches total).
- Round 3 (Increase):
- Ch 2. *1 hdc in the next stitch, 2 hdc in the next stitch.* Repeat from * to * around.
- Sl st to the first hdc to join. (30 stitches total).
- Round 4 (Increase):
- Ch 2. *1 hdc in the next 2 stitches, 2 hdc in the next stitch.* Repeat from * to * around.
- Sl st to the first hdc to join. (40 stitches total).
- Round 5 (Increase):
- Ch 2. *1 hdc in the next 3 stitches, 2 hdc in the next stitch.* Repeat from * to * around.
- Sl st to the first hdc to join. (50 stitches total).
Continuing Increases: Continue this pattern, adding one extra hdc between your increases in each round, until the placemat measures approximately 10 to 11 inches (25 to 28 cm) in diameter. For a standard placemat, this will likely require about 10 to 12 rounds in total, depending on your tension and yarn thickness.
- Check Point: Lay your work flat after each round. If it begins to ruffle (too many stitches), skip an increase round. If it begins to cup (too few stitches), add an extra increase.
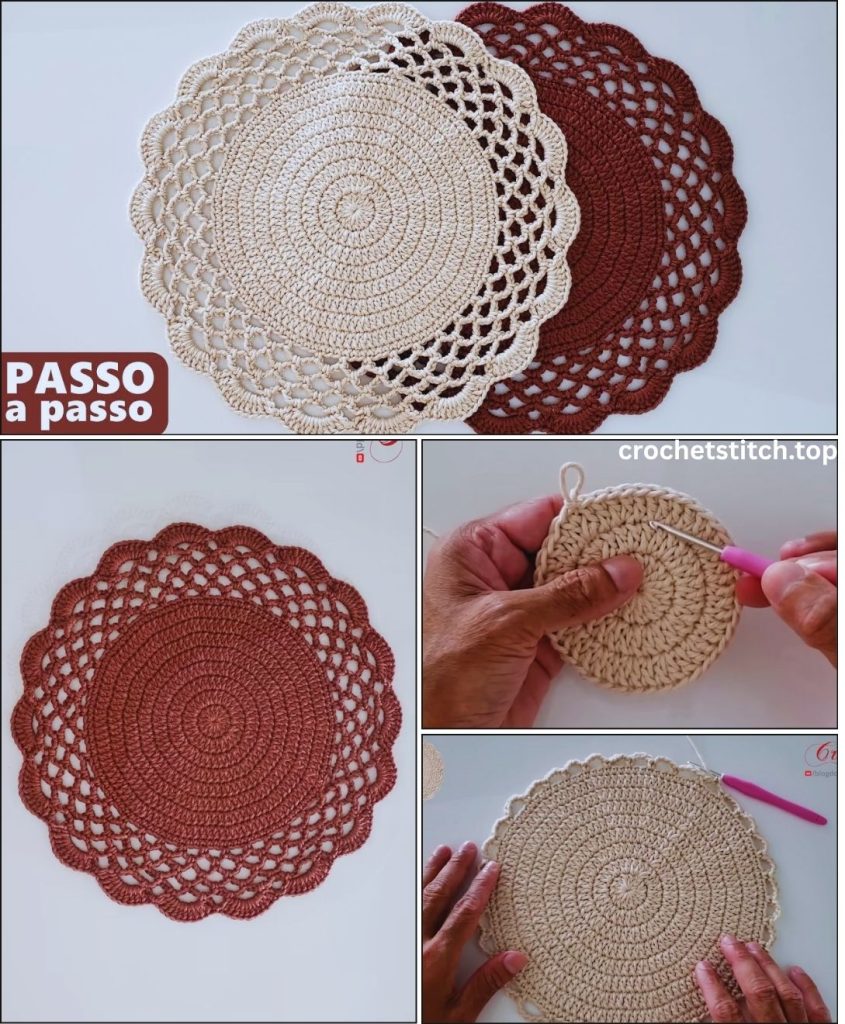
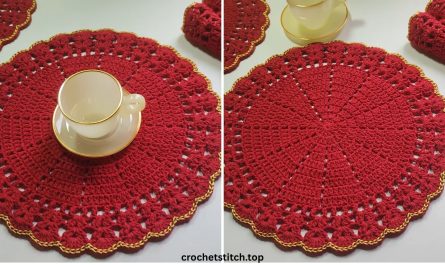
Part 2: Creating the Decorative Border
Once the placemat is the desired size, we will add a simple, clean border to give it a professional finish and maximize the diameter with the remaining yarn.
- Transition Round (Single Crochet): This round stabilizes the edge.
- Ch 1. Work 1 single crochet (sc) into the back loop only (BLO) of each stitch around. Sl st to join. This creates a small, defined ridge where the center transitions to the border.
- Border Round 1 (Simple Picot Edge): This round uses minimal yarn to create maximum decorative impact.
- Ch 1. Work 1 sc in the next stitch.
- *Ch 3, sl st into the first chain (this forms a picot). Skip the next 2 stitches, 1 sc in the next stitch.* Repeat from * to * around the edge.
- Sl st to the first sc to join.
- Final Edge Round (Optional): If you have a few grams of yarn remaining, you can work a final round of tight slip stitches for a neat finish.
- Ch 1. Work 1 sl st into each stitch and chain space around the edge. Sl st to join.
Part 3: Finishing and Blocking
- Fasten Off: Cut your yarn, leaving a 6-inch tail. Pull the tail through the last loop on your hook to secure the stitch.
- Weave in All Ends: Thread the tail into your yarn needle. Weave the tail through the stitches on the back of the placemat. Securely weave in the ends in different directions and trim the excess yarn.
- Blocking (Essential): Blocking is crucial for any flat crochet piece.
- Gently mist the sousplat with water until it is damp.
- Place it on a flat surface (a towel or blocking mat).
- Gently stretch and shape it into a perfect circle, pressing the edges flat. Pin the edges if necessary.
- Allow it to air dry completely.
By maximizing the use of the hdc stitch and a simple picot border, you have successfully created a beautiful, full-sized sousplat with just 100g of yarn!