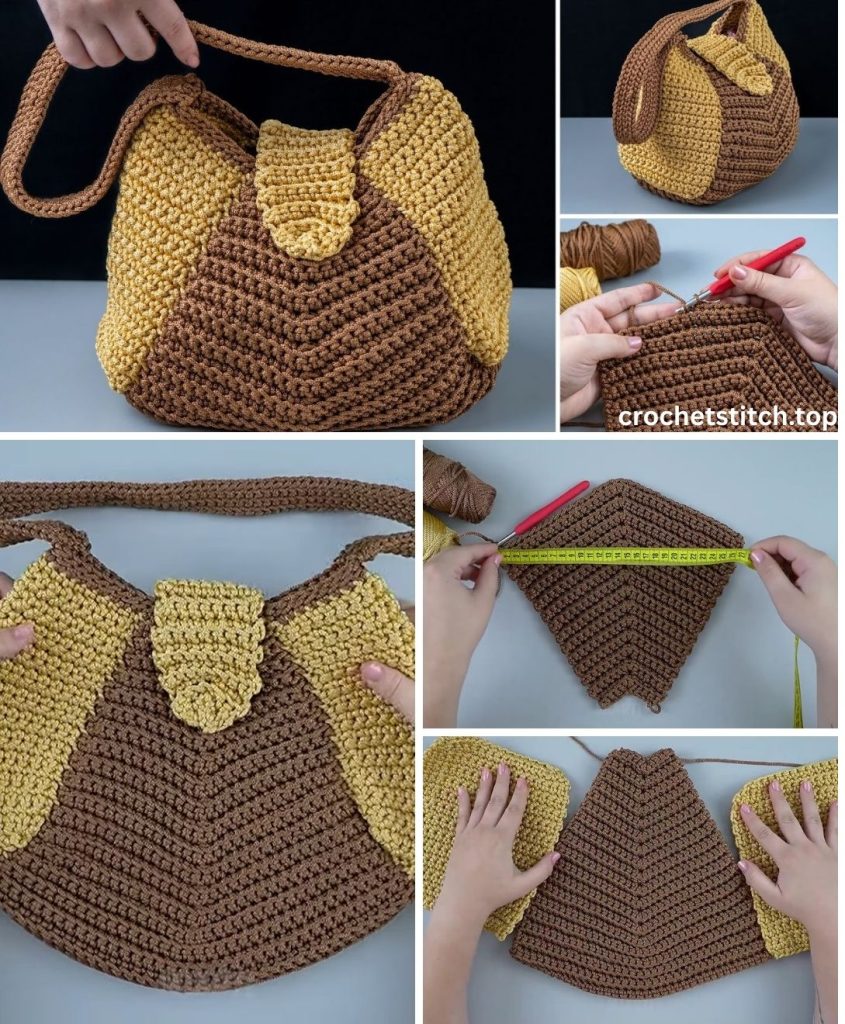
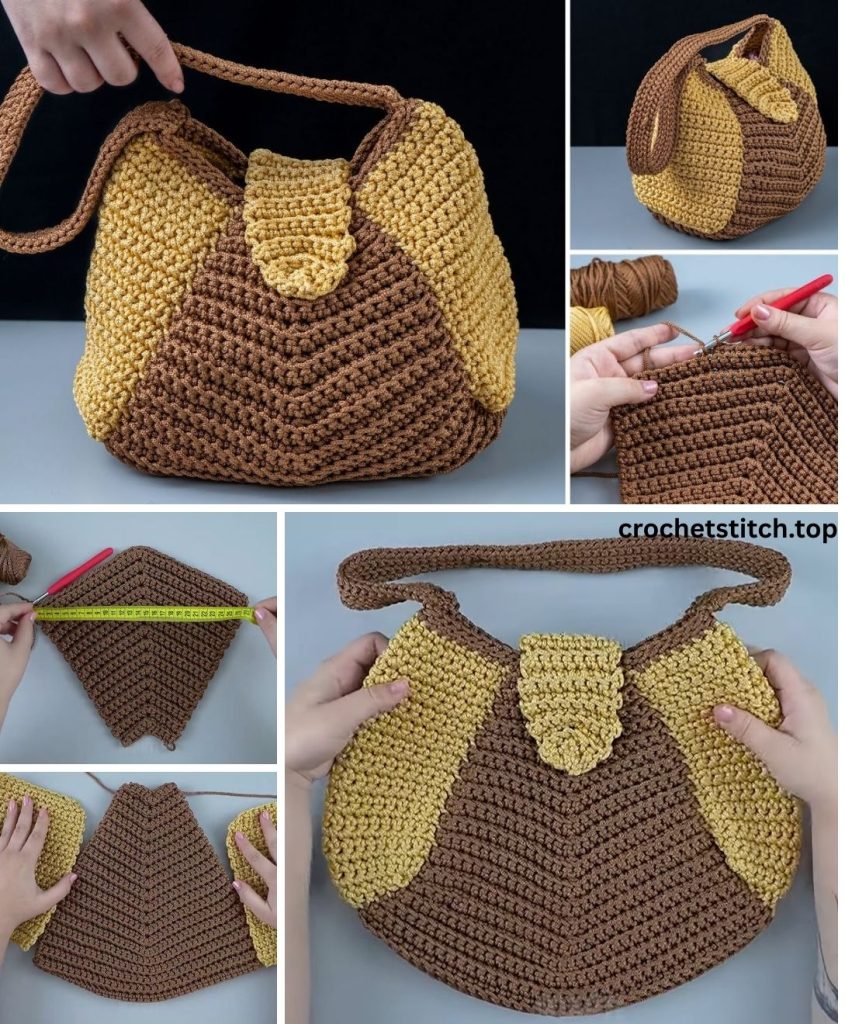
by
by Here is a detailed, step-by-step guide to crocheting a simple, sturdy, and stylish two-color tote bag that’s perfect for carrying everything you need. This pattern is designed to be beginner-friendly but results in a professional-looking and highly functional bag.
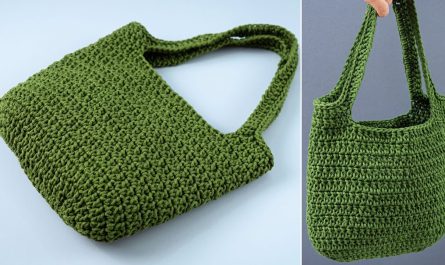
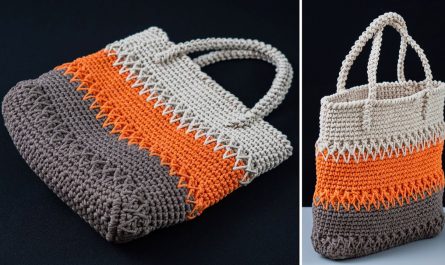
The Perfect Carry-All: A Step-by-Step Guide to Crocheting a Sturdy Two-Color Tote Bag
There’s a special kind of satisfaction that comes from using something you’ve made with your own hands. This crochet tote bag pattern is the perfect project for just that. It’s designed to be strong enough for your farmers’ market haul, stylish enough for a day out, and spacious enough for your books, laptop, or beach towel.
Using simple stitches and a classic two-color striped design, this pattern will guide you through creating a durable and beautiful bag from the base up. We’ll focus on creating a tight, dense fabric that won’t stretch out, ensuring your “everything” bag lives up to its name for years to come.
Why You’ll Love This Tote Bag Pattern
- Incredibly Sturdy: We use a smaller hook with worsted-weight cotton yarn to create a dense, non-stretchy fabric that can handle heavy items.
- Spacious Design: The rectangular base provides a wide, stable bottom, allowing the bag to hold a surprising amount and even stand up on its own.
- Beginner-Friendly: The pattern relies on the most basic crochet stitch—the single crochet. We’ll walk you through every step, from the base to the body and the integrated handles.
- Completely Customizable: You can easily change the colors, adjust the stripe pattern, or alter the dimensions to create a bag that is uniquely yours.
Materials & Tools
Before we begin, let’s gather our supplies.
- Yarn: Worsted Weight (Category 4) cotton or a cotton-blend yarn. 100% cotton is highly recommended as it has very little stretch, making it ideal for a sturdy bag.
- Main Color (MC): Approximately 400 yards (365 meters). Example: Cream or a neutral beige.
- Contrasting Color (CC): Approximately 250 yards (228 meters). Example: Navy blue, forest green, or a bright accent color.
- Crochet Hook: A 4.5 mm (US size 7) hook. Note: This may be smaller than the hook recommended on your yarn label. Using a slightly smaller hook is the key to creating a tight, strong fabric.
- Stitch Marker: Essential for keeping track of the beginning of your rounds. A simple safety pin or a scrap of different colored yarn will work.
- Yarn Needle (or Tapestry Needle): For weaving in your ends neatly.
- Scissors: For cutting your yarn.
- Measuring Tape (Optional): To check your dimensions as you go.
Pattern Details
- Skill Level: Advanced Beginner
- Gauge: Approximately 16 single crochet stitches and 18 rows = 4 inches x 4 inches (10 cm x 10 cm). While exact gauge isn’t critical for a bag, matching it will ensure your bag is the same size as the one described.
- Finished Size (approximate): 14 inches (35.5 cm) wide, 15 inches (38 cm) tall, with a 4-inch (10 cm) deep base.
- Abbreviations (US Crochet Terms):
- ch: chain
- st(s): stitch(es)
- sl st: slip stitch
- sc: single crochet
- MC: Main Color
- CC: Contrasting Color
- Rnd: Round
- (…): stitch counts at the end of a row/round
The Pattern: Step-by-Step Instructions
We will construct this bag in three parts: first, the flat rectangular base; second, the body of the bag worked in the round; and third, the integrated handles.
Part 1: The Rectangular Base
The base is worked back and forth in rows using your Main Color (MC).
With your Main Color (MC), create a foundation chain.
Row 1: Ch 51. Starting in the second ch from the hook, sc in that chain and in each chain across. (50 sts)
Row 2: Ch 1, turn your work. Sc in each st across. (50 sts)
Rows 3 – 18: Repeat Row 2.
At the end of Row 18, you should have a solid rectangle of single crochet stitches. This will be the bottom of your bag. Do not fasten off the yarn. Your rectangle should measure approximately 12.5 inches x 4 inches.

Part 2: The Body of the Bag
Now, we will transition from working in rows to working in rounds around the entire perimeter of the rectangular base. This step creates the seamless body of the bag.
Rnd 1 (Setup Round): Ch 1 (does not count as a stitch). You will now work sc stitches evenly around all four edges of the rectangle.
- Work along the first long edge: Sc in each of the 50 sts from your last row.
- Work into the corner: Place 3 sc in the corner stitch. This helps the bag turn upwards sharply.
- Work along the short edge: Work 18 sc evenly down the side of the rectangle (aim for one sc in the end of each row).
- Work into the corner: Place 3 sc in the corner stitch.
- Work along the second long edge: Work 50 sc along the bottom of the foundation chain.
- Work into the corner: Place 3 sc in the corner stitch.
- Work along the second short edge: Work 18 sc evenly up the final side.
- Work into the final corner: Place 3 sc in the final corner stitch.
- Join with a sl st to the first sc of the round. Place a stitch marker in this first stitch. From now on, we will work in a continuous spiral, so you’ll move the marker up with each round.
Your total stitch count should be: 50+3+18+3+50+3+18+3=148 sts. Don’t worry if you are off by a stitch or two, as long as the base lies flat.
Rnd 2: Sc in every stitch around. (148 sts)
Rnds 3 – 20 (MC): Continue to sc in every stitch around, working in a continuous spiral. Remember to move your stitch marker up to the first stitch of each new round.
How to Change Colors Cleanly: To create crisp stripes, you’ll change color on the very last step of the stitch before the new color begins. To switch from MC to CC: Insert your hook into the last stitch of the MC round, yarn over with MC and pull up a loop (2 loops on hook). Now, instead of finishing the stitch with MC, drop the MC yarn, yarn over with your new CC yarn, and pull it through both loops on the hook. The stitch is complete, and you are ready to start the next round with the new color.
Rnd 21 – 25 (CC): At the end of Rnd 20, change to your Contrasting Color (CC). Sc in every stitch around for 5 rounds.
Rnd 26 – 35 (MC): At the end of Rnd 25, change back to your Main Color (MC). Sc in every stitch around for 10 rounds.
Rnd 36 – 40 (CC): Change to CC. Sc in every stitch around for 5 rounds.
Rnd 41 – 50 (MC): Change to MC. Sc in every stitch around for 10 rounds.
Rnd 51 – 55 (CC): Change to CC. Sc in every stitch around for 5 rounds.
Rnd 56 – 65 (MC): Change to MC. Sc in every stitch around for 10 rounds.
Feel free to adjust the stripe pattern to your liking! You can make them thinner, thicker, or use more colors.
Part 3: The Handles
The handles are created by crocheting a length of chain and skipping stitches on the bag’s body. We will then work over these chains to make them thick and sturdy.
Rnd 66 (Handle Placement – MC): Lay your bag flat. The stitch marker indicates the side of your bag. We want the handles to be centered on the front and back. Our total stitch count is 148. Each side (front and back) has 148/2=74 stitches.
- Sc in the next 15 sts.
- Ch 50. (This will form the handle. For longer/shorter handles, adjust the number of chains).
- Skip the next 44 sts on the bag body.
- Sc in the next 30 sts (this will take you across the front of the bag).
- Ch 50.
- Skip the next 44 sts on the bag body.
- Sc in the remaining 15 sts to reach your stitch marker.
Rnd 67 – 72 (Reinforcing the Handles – MC): Now we will build up the handles.
- Sc in each stitch until you reach the chain space for the first handle.
- Work 50 sc into the chain space (work over the chains, not into them). Try to keep these stitches neat and even.
- Sc in each stitch on the bag body until you reach the second chain space.
- Work 50 sc into the second chain space.
- Sc in each stitch to the end of the round.
- Continue working sc in every stitch around (both on the bag body and on the handles) for 5 more rounds. These rounds are what make the handles comfortable and incredibly strong.
After completing Rnd 72, sl st into the next stitch. Cut your yarn, leaving a 6-inch tail. Fasten off.
Finishing Touches
The final step is to make your bag look polished and professional.
- Weave in Your Ends: Using your yarn needle, carefully weave in all yarn tails on the inside of the bag. Pay special attention to the color-change tails and the final tail. Weave them back and forth in different directions to ensure they are secure.
- Optional – Add a Lining: For a truly professional finish and added durability, you can hand-sew a fabric lining inside your bag. Cut a piece of fabric to match the dimensions of your bag, sew it into a bag shape, hem the top edge, and stitch it into place just below the top of your crochet bag.
- Optional – Add a Closure: You can add a magnetic snap closure or a simple button-and-loop closure to the top center of the bag.
Your beautiful, sturdy, two-color tote bag is now complete! It’s ready to be filled with all your essentials and accompany you on your daily adventures. Enjoy the compliments you’ll receive on your stunning handmade creation.