by
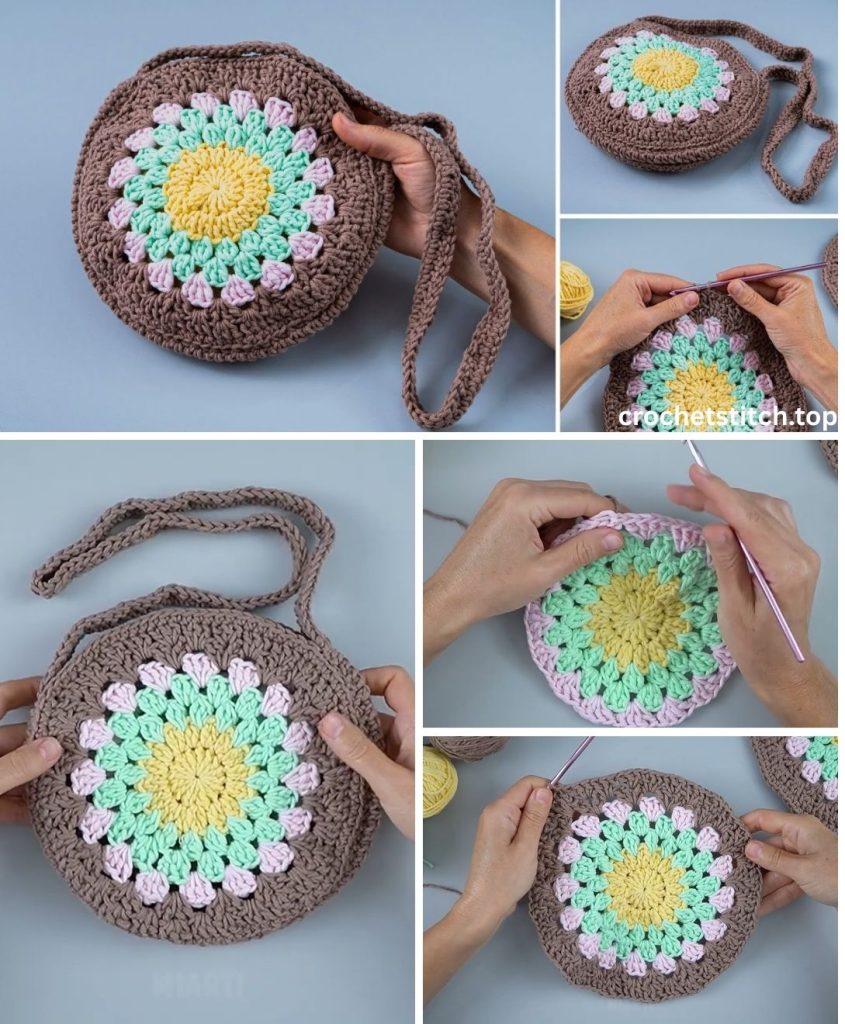
by The granny square is one of the most iconic motifs in crochet, beloved for its simplicity, versatility, and nostalgic charm. This pattern will guide you through transforming a collection of these simple squares into a functional and fabulous shoulder bag.
This project is perfect for using up scrap yarn, allowing you to create a vibrant, one-of-a-kind piece. It’s a portable project—you can make squares anywhere, anytime—and the assembly process is like putting together a fun, satisfying puzzle. Whether you’re a beginner who has mastered the basic stitches or an expert looking for a relaxing and creative project, this granny square bag is a joy to make and a statement to wear.
Why You’ll Love This Project
- Infinitely Customizable: The color combinations are endless! Go for a coordinated color palette, a random scrappy look, or a minimalist solid color.
- Scrap Yarn Buster: It’s the perfect project to use up those leftover balls of yarn from other projects.
- Skill-Building: You’ll practice making consistent squares, learn a joining technique, and construct a 3D object from flat pieces.
- Portable & Fun: Making individual squares is a great on-the-go project that you can pick up and put down easily.
- Timelessly Stylish: The granny square aesthetic is always in fashion, bringing a touch of handmade, bohemian flair to any outfit.
Project Overview
The construction of this bag is straightforward:
- Create the Squares: We will crochet 13 identical granny squares.
- Arrange and Join: The squares will be laid out in a specific pattern and then seamed together to form the bag’s body.
- Add the Finishing Touches: We will add a neat border around the bag’s opening and create a sturdy strap.
Materials & Tools
- Yarn: Worsted Weight (Category 4) yarn. Cotton is a great choice for a sturdy, structured bag, while acrylic is soft, lightweight, and comes in many colors.
- You will need approximately 400-500 yards in total, split across various colors of your choice. A main color for joining and the strap can create a cohesive look.
- Crochet Hook: 5.0 mm (US size H-8), or the size recommended for your yarn.
- Yarn Needle (or Tapestry Needle): Absolutely essential for joining squares and weaving in the many ends.
- Scissors: For cutting yarn.
- Stitch Markers (Optional): Helpful for marking corners or the start of rounds.
Pattern Details & Abbreviations
- Skill Level: Easy / Advanced Beginner
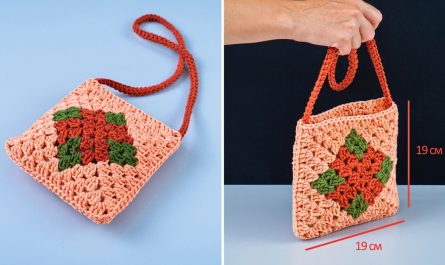
- Gauge: Not critical, but consistency is key. Each finished square should be the same size. For this pattern, each 5-round square should measure approximately 5 inches x 5 inches (12.5 cm x 12.5 cm).
- Abbreviations (US Crochet Terms):
- ch: chain
- sl st: slip stitch
- dc: double crochet
- sp: space
- st(s): stitch(es)
- Rnd: Round
- (…): stitch counts
- […]: repeat instructions within brackets
- 3-dc cluster: A group of 3 double crochet stitches worked into the same space.
The Pattern: Step-by-Step Instructions
Part 1: Crocheting the Classic Granny Square (Make 13)
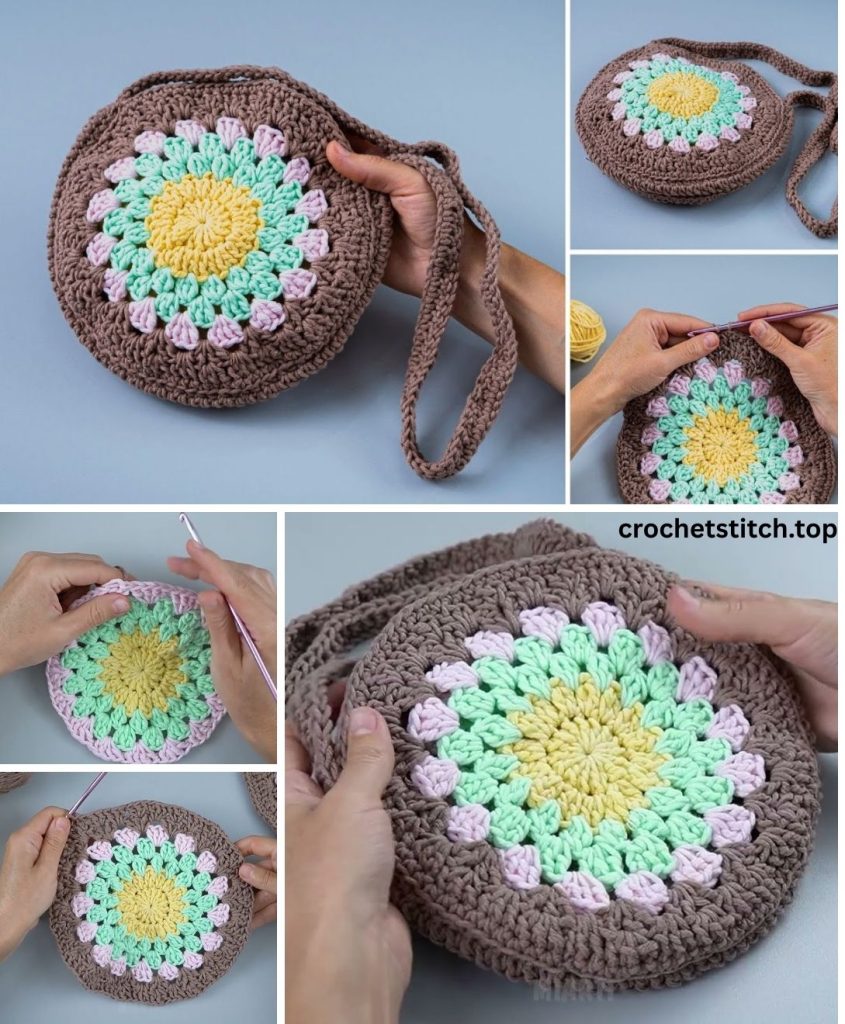
This is the foundational element of our bag. You will need to make 13 identical squares. Feel free to change colors on each round for a classic look, or make them all solid.
To Start: Create a magic ring, OR ch 4 and sl st to the first ch to form a ring.
Rnd 1: Ch 3 (counts as the first dc). Work 2 dc into the center of the ring. Ch 2. [Work 3 dc into the ring, ch 2]. Repeat this step two more times. Join with a sl st to the top of the beginning ch-3. You should have four 3-dc clusters and four ch-2 corner spaces.
Rnd 2: Sl st in the next 2 dc and into the first ch-2 corner space. Ch 3 (counts as first dc). In the same corner space, work (2 dc, ch 2, 3 dc) — this is your first corner. [Ch 1. In the next ch-2 corner space, work (3 dc, ch 2, 3 dc)]. Repeat this step two more times. Ch 1, then join with a sl st to the top of the beginning ch-3.
Rnd 3: Sl st across to the first ch-2 corner space. Ch 3 (counts as first dc). In the same corner space, work (2 dc, ch 2, 3 dc). [Ch 1. Work a 3-dc cluster in the next ch-1 space. Ch 1. In the next ch-2 corner space, work (3 dc, ch 2, 3 dc)]. Repeat this step two more times. Ch 1, work a 3-dc cluster in the last ch-1 space, ch 1. Join with a sl st to the top of the beginning ch-3.
Rnd 4: Sl st across to the first ch-2 corner space. Ch 3 (counts as first dc). In the same corner space, work (2 dc, ch 2, 3 dc). [Ch 1, work a 3-dc cluster in the next ch-1 sp] repeat across the side. Ch 1. In the next ch-2 corner space, work (3 dc, ch 2, 3 dc). Repeat this pattern for the remaining 3 sides. Join with a sl st to the top of the beginning ch-3.
Rnd 5: Repeat the pattern of Rnd 4. You will now have four 3-dc clusters along each side between the corners.
Fasten off, leaving a 6-inch tail for weaving in.
Repeat this process until you have 13 finished squares. Weave in all the starting and ending tails on each square before you begin assembly. This will save you a lot of work later!
Part 2: Assembling the Bag
Now for the fun part! We’ll join the squares and watch the bag take shape. We will use a Single Crochet Join for a strong and decorative seam.
Step 1: The Layout Arrange your 13 squares on a flat surface in the shape of a large cross or plus sign, like this:
This layout consists of a central column of five squares and two squares extending from each side of the second square from the top.
Step 2: Joining the Squares (Flat) We will join the squares while they are still flat. To do this with a single crochet join:
- Hold two squares with the wrong sides together.
- Insert your hook through the ch-2 corner space of both squares.
- Join your joining color yarn with a sl st, then ch 1.
- Work a sc into that same corner space, going through both layers.
- Continue working sc stitches along the edge, making sure to insert your hook through the corresponding stitches of both squares.
- When you reach the next corner, place one final sc in the ch-2 corner space. Fasten off.
Join all the squares in the cross-shaped layout, first joining them into rows, and then joining the rows together.
Step 3: Folding and Forming the Bag With your cross shape laid out flat (right side facing down):
- Fold the sides: Take the single squares on the left and right sides and fold them inward to meet the squares of the central column. Seam the touching vertical edges.
- Fold the bottom: Take the bottom three-square panel and fold it up to meet the front and side pieces. Seam the bottom and side edges.
- Fold the top flap: The remaining top three-square panel becomes the front flap of your bag.
You should now have a bag shape with an open top and a flap that folds over.
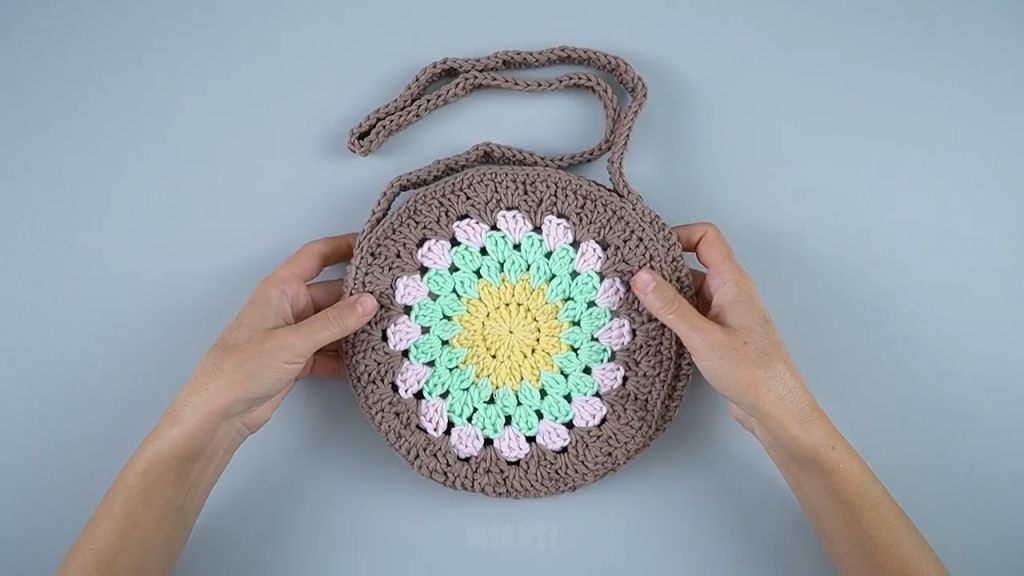
Part 3: The Top Border and Strap
Step 1: The Top Border To create a clean, sturdy opening for your bag:
- Join your main color yarn at one of the top side seams of the bag opening.
- Rnd 1: Ch 1, and work sc stitches evenly all the way around the opening. Aim to place one sc in each stitch and one sc in each ch-1 space. The exact count isn’t critical, but it should be neat and not pucker. Sl st to join.
- Rnd 2-4: Ch 1, sc in each st around. Sl st to join. After the final round, fasten off and weave in the end.
Step 2: The Shoulder Strap A sturdy strap is crucial. We will create a double-thick strap for durability.
- Foundation: Ch 11.
- Row 1: Sc in the 2nd ch from the hook and in each ch across. (10 sc)
- Row 2: Ch 1, turn. Sc in each st across. (10 sc)
- Repeat Row 2 until your strap reaches your desired length (a good starting point is 40 inches / 100 cm, but measure it against your body to be sure).
- Do not fasten off. Fold the strap in half lengthwise. Sl st the two long edges together to create a sturdy, flat tube. Fasten off, leaving a very long tail for sewing.
Step 3: Attaching the Strap Using the long tail and your yarn needle, securely sew the ends of the strap to the sides of your bag, right on the inside of the top border. Stitch it multiple times in a square or ‘X’ pattern to ensure it can handle weight.
Final Finishing Touches
- Weave in ALL ends: This is the most important final step. Any remaining ends from joining or the strap should be woven in securely on the inside of the bag.
- Optional – Lining: For a professional finish and to prevent small items from poking through, consider sewing a fabric lining for your bag.
- Optional – Closure: Add a magnetic snap, a toggle, or a large button and crochet loop to the front flap and bag body to keep it closed.
- Optional – Tassels/Fringe: Add some tassels or fringe to the bottom or flap of the bag for extra bohemian flair.
You have now completed your very own granny square shoulder bag! A timeless piece of wearable art that is as unique as you are. Enjoy it!