 by
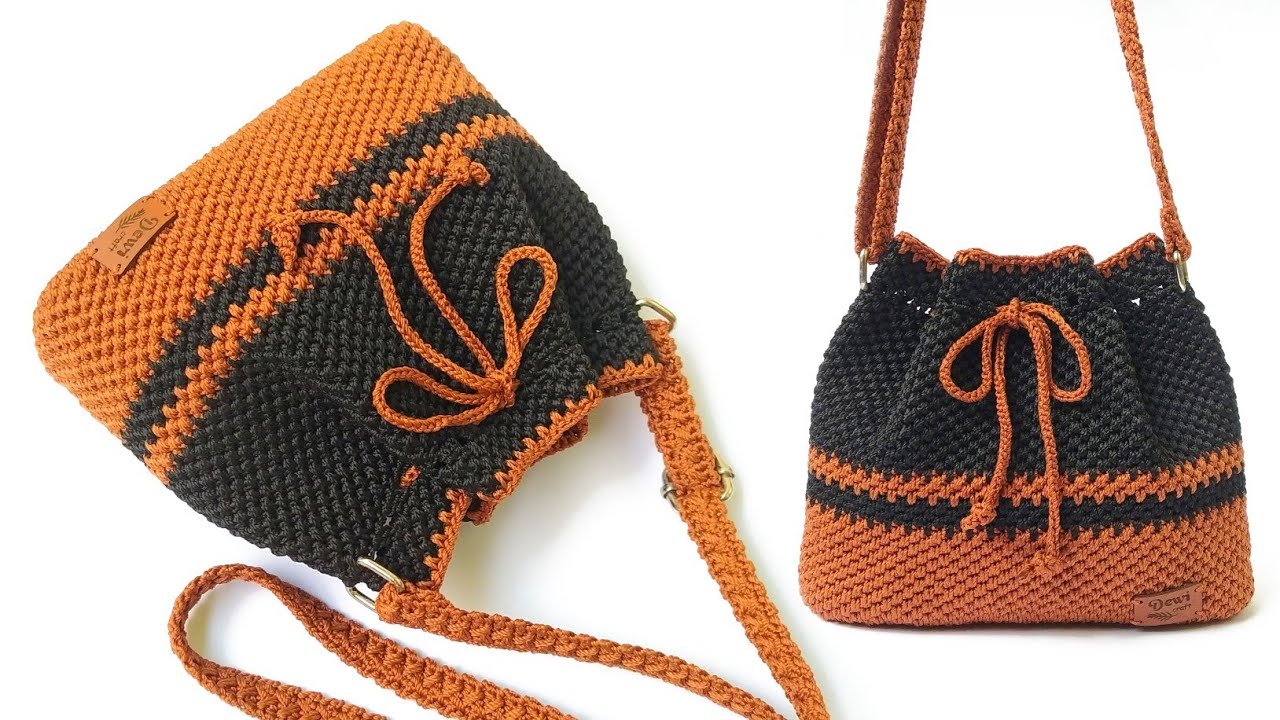
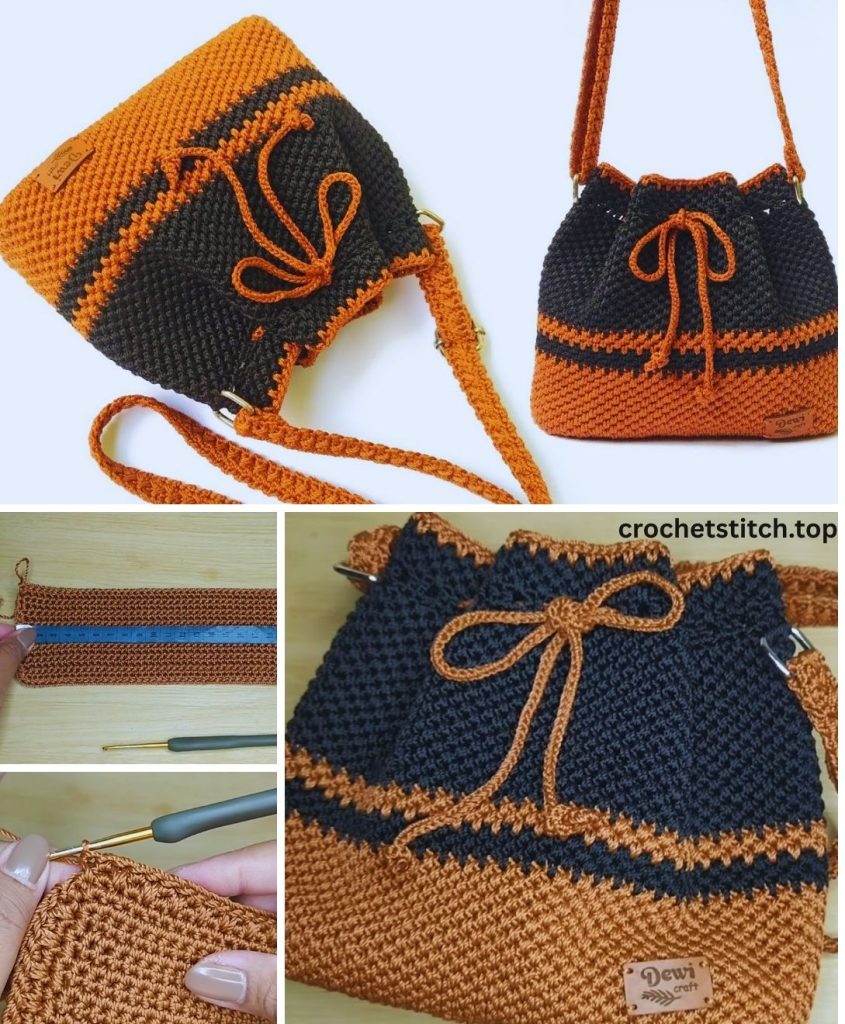
by A drawstring crochet bag is a perfect project for anyone new to crochet. It’s a quick, practical, and stylish accessory that can be used for everything from carrying a water bottle to holding your latest crochet project. This detailed tutorial will walk you through the entire process, using simple stitches that are easy to master.
Materials You’ll Need
- Yarn: Approximately 100-150 grams of worsted weight (aran/10-ply) yarn. Cotton or a cotton blend is a great choice as it creates a sturdy fabric that holds its shape well.
- Crochet Hook: A hook size appropriate for your yarn. A 5.0mm (H/8) hook is a good starting point.
- Scissors
- Yarn Needle (Tapestry Needle): For weaving in ends and creating the drawstring casing.
- Stitch Marker: Extremely helpful for keeping track of your rounds.
Key Crochet Stitches and Techniques
- Magic Ring (or Chain 2 and work in the second chain from the hook): This creates a neat, closed center for the bag base.
- Chain (ch): The most basic crochet stitch.
- Slip Stitch (sl st): Used to join rounds.
- Half Double Crochet (hdc): This is the main stitch for the bag’s body. It’s a great balance between speed and creating a dense fabric.
- Crocheting in the Round: The entire bag is worked in a continuous circle.
Part 1: Crocheting the Base of the Bag
The base is a simple flat circle that will give your bag a solid foundation.
- Foundation: Start with a magic ring.
- Round 1: Ch 2 (does not count as a stitch). Work 8 hdc into the magic ring. Pull the yarn tail to tighten the ring completely. Sl st to the first hdc to join. (8 stitches total).
- Round 2: Ch 2. Work 2 hdc into each stitch around. Sl st to the first hdc to join. (16 stitches total).
- Round 3: Ch 2. *1 hdc in the next stitch, 2 hdc in the next stitch.* Repeat from * to * around. Sl st to join. (24 stitches total).
- Round 4: Ch 2. *1 hdc in the next 2 stitches, 2 hdc in the next stitch.* Repeat from * to * around. Sl st to join. (32 stitches total).
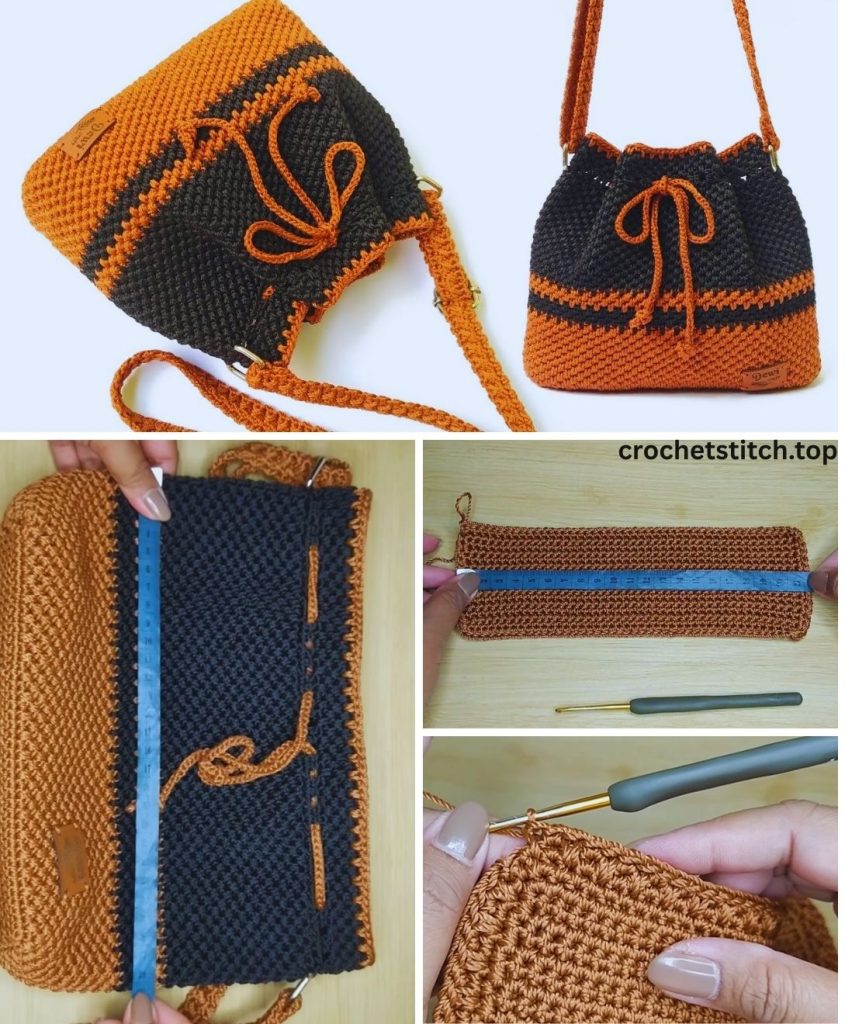
Continuing the Base: Continue this pattern of increasing by one stitch between your increases for each round until the base measures approximately 5 to 6 inches in diameter. The number of rounds will vary based on your yarn and tension.
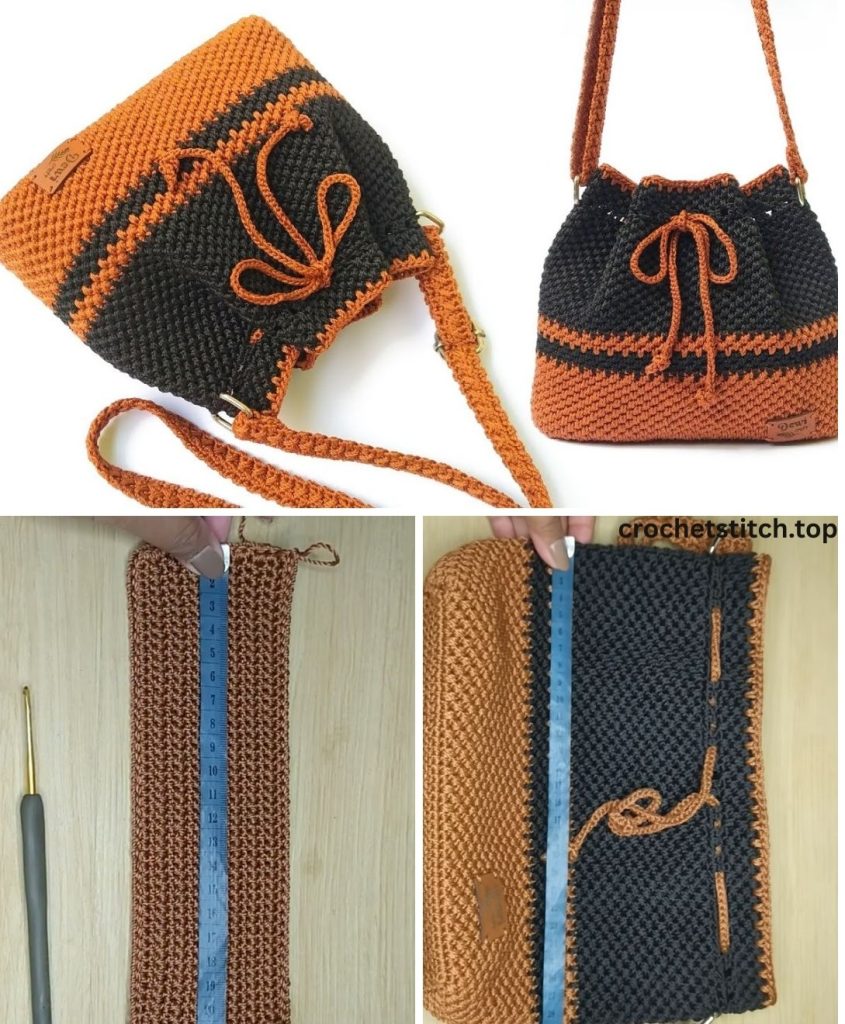
Part 2: Crocheting the Body of the Bag
Once the base is the correct size, you will stop increasing and work straight rounds to create the sides of the bag. This will cause the bag to start folding up.
- Stop Increasing:
- Round 8 (example): Ch 2. Work 1 hdc in each stitch around. Sl st to the first hdc to join.
- Continue Straight Rounds:
- Repeat this process for approximately 10 to 12 more rounds, or until the bag is the desired height. The number of rounds will determine how deep the bag is.
Part 3: Creating the Drawstring Casing
The drawstring casing is the top section of the bag where the cord will be threaded through. This is a very important step.
- Round 1 (Foundation for Casing): Ch 2. Work 1 hdc in each stitch around. Do not join with a slip stitch. Instead, continue working in a spiral for a seamless look. Place a stitch marker in the first stitch of the round.
- Round 2 (Creating the Holes): Ch 1. *Work 1 hdc in the next stitch, ch 1, skip the next stitch.* Repeat from * to * around. Work 1 hdc in the last stitch of the round. This creates small holes for your drawstring.
- Round 3 (Closing the Casing): Work 1 hdc in each stitch and ch-1 space around. The hdc will go into the stitch from the previous round and the chain will go into the ch-1 space.
- Final Round: For a clean finish, work one final round of single crochet (sc) stitches all the way around. Sl st to the first sc to join.
Part 4: Making the Drawstring
The drawstring itself is a simple chain that you can thread through the casing.
- Crocheting the Cord: Ch 100, or to your desired length. The length of your chain should be about twice the circumference of the bag opening.
- Fasten Off: Cut the yarn, leaving a short tail. Pull the tail through the last loop to secure the chain.
- Threading the Drawstring: Using a yarn needle or a large safety pin, thread the drawstring through the holes you created in the casing. Start at the front of the bag and thread it all the way around, bringing the two ends out at the same front hole.
- Tying: Tie the ends of the drawstring in a simple knot to secure them.
Part 5: The Finishing Touches
- Weave in All Ends: This is a crucial step for a professional finish. Use your yarn needle to carefully weave in all loose ends on the inside of the bag. Weave them through the stitches in different directions to ensure they are secure and hidden.
- Blocking (Optional): For a more defined shape, you can gently block your bag. Simply mist it with water, shape it with your hands, and let it air dry.
Congratulations! You have successfully created a beautiful and functional drawstring crochet bag. This project is a wonderful way to create a functional accessory that you can use and enjoy for years to come.